Acumatica integration how-to
How to Connect Shopify with Acumatica
A step-by-step guide to configuring products, inventory, customers, orders, payments, shipping, and fulfillment with Acumatica's native Shopify connector.
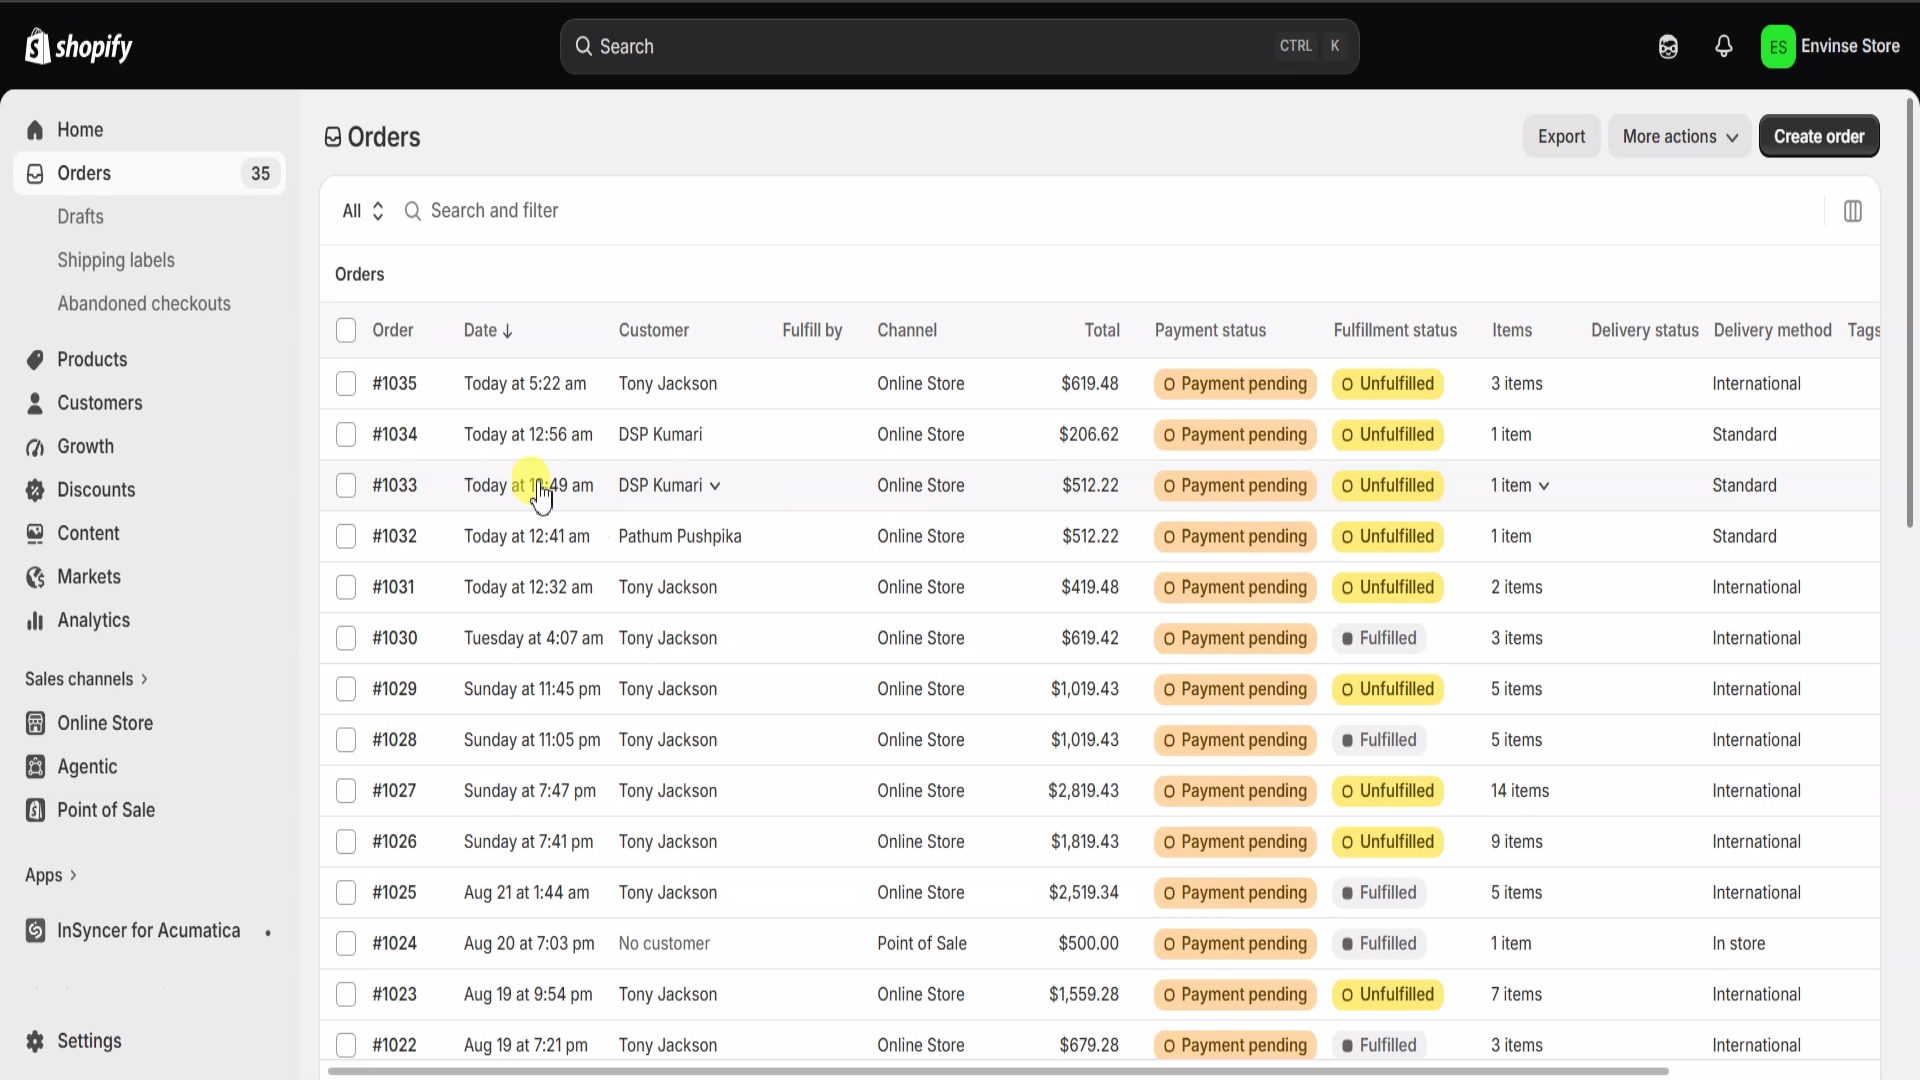
How do you connect Shopify with Acumatica?
Enable Retail Commerce and the Shopify Connector in Acumatica, prepare the ERP records that support the store, create and test the Shopify store connection, activate the entities you need, configure mappings and filters, choose a synchronization cadence, and verify the first product, order, and inventory records in Sync History.
If you sell on Shopify and run operations in Acumatica, the storefront and ERP should work as one flow - not as two systems your team reconciles by hand. Acumatica's native Shopify connector can keep products, inventory, customers, orders, payments, and shipping data synchronized between the store and the back office.
The mechanics are straightforward. The important part is configuring them around your catalog, warehouses, payments, customer rules, and order volume. This walkthrough shows what is under the hood and where those decisions belong.
What Shopify and Acumatica Can Keep Synchronized
A configured connection can coordinate the records that carry an order from merchandising through fulfillment:
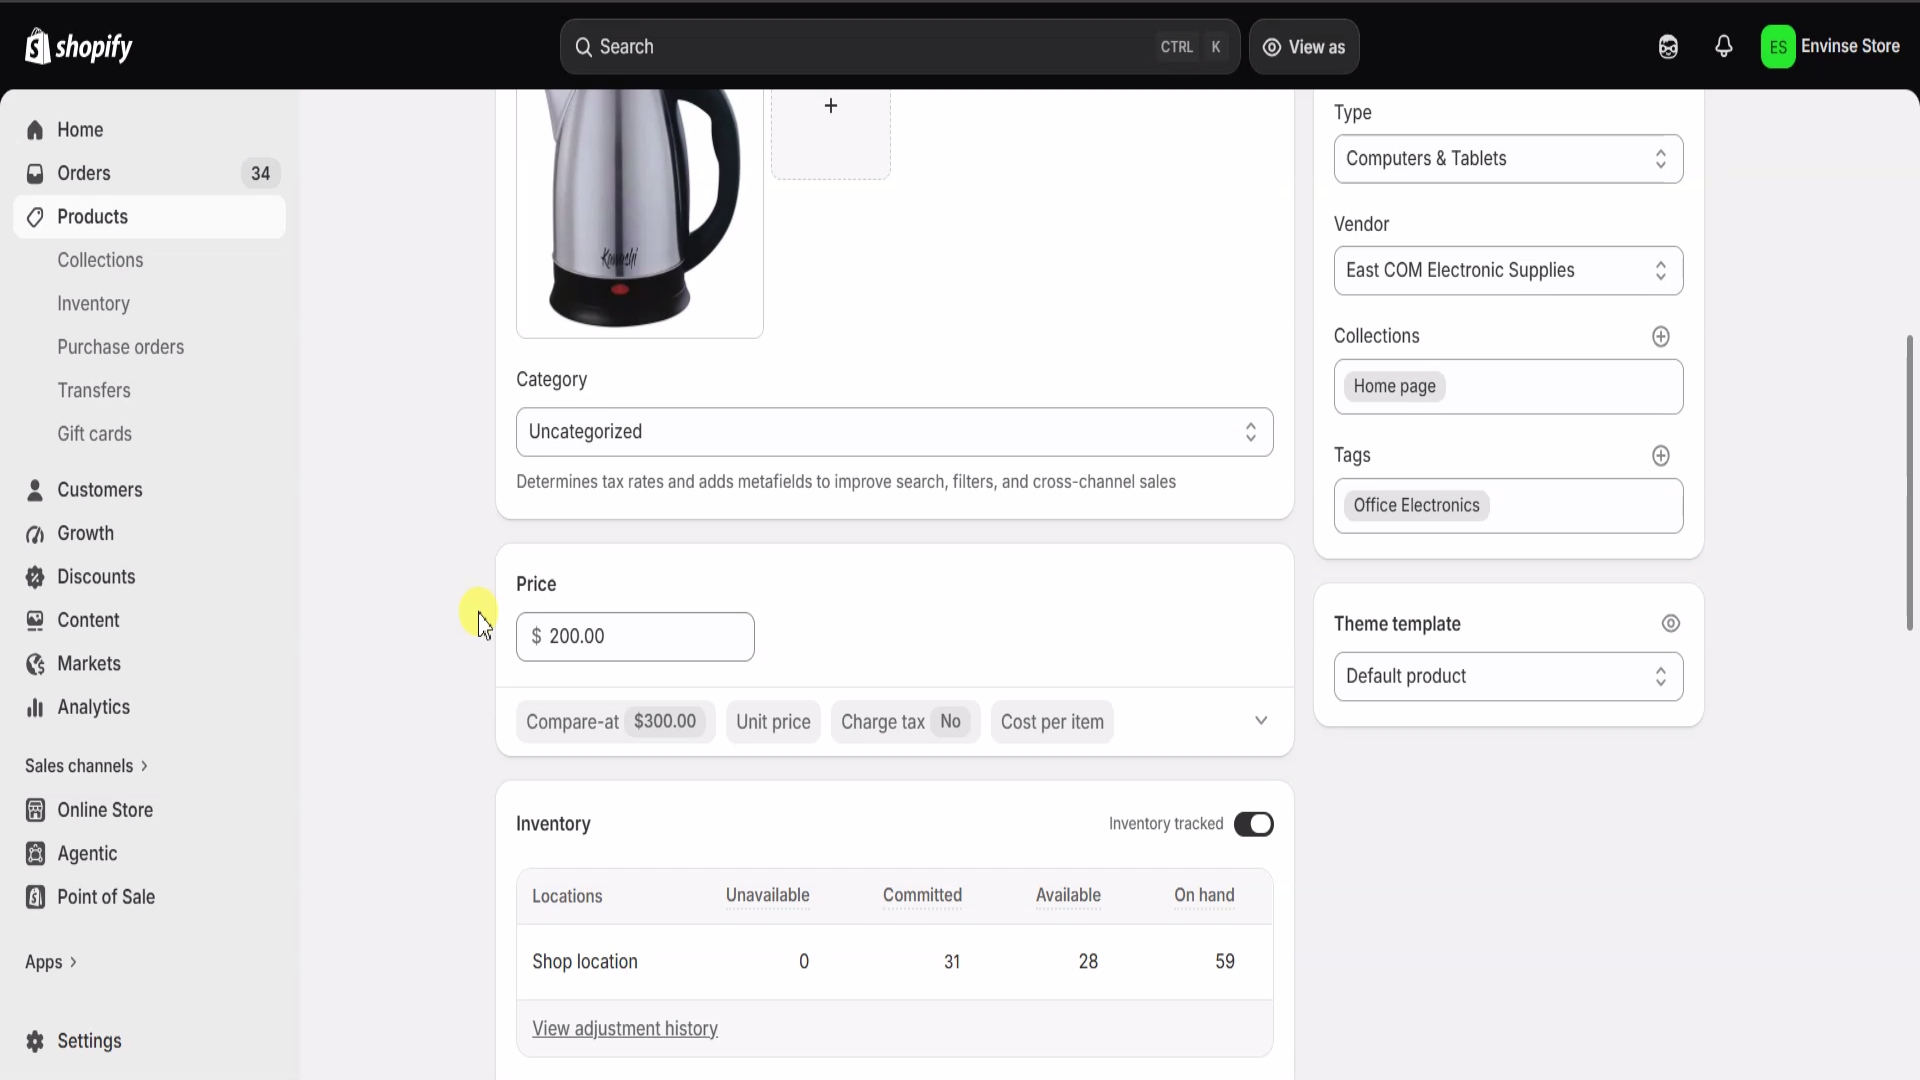
- Products and inventory: items, product details, and availability from Acumatica to Shopify.
- Customers: registered shoppers and guest-customer handling in Acumatica.
- Orders: Shopify checkouts created as Acumatica sales orders with customer, product, quantity, price, shipping, and Shopify reference details.
- Payments and shipping: mapped payment and delivery data so incoming orders are ready to process.
- Fulfillment: shipment and status information from the normal Acumatica workflow back toward the storefront.
Before You Start
Have these pieces ready before creating the connection:
- An Acumatica edition and license with the required Commerce features available.
- A Shopify store and administrative access to install or authorize the preferred Acumatica Shopify app connection.
- The Acumatica customer class and numbering rules for imported shoppers.
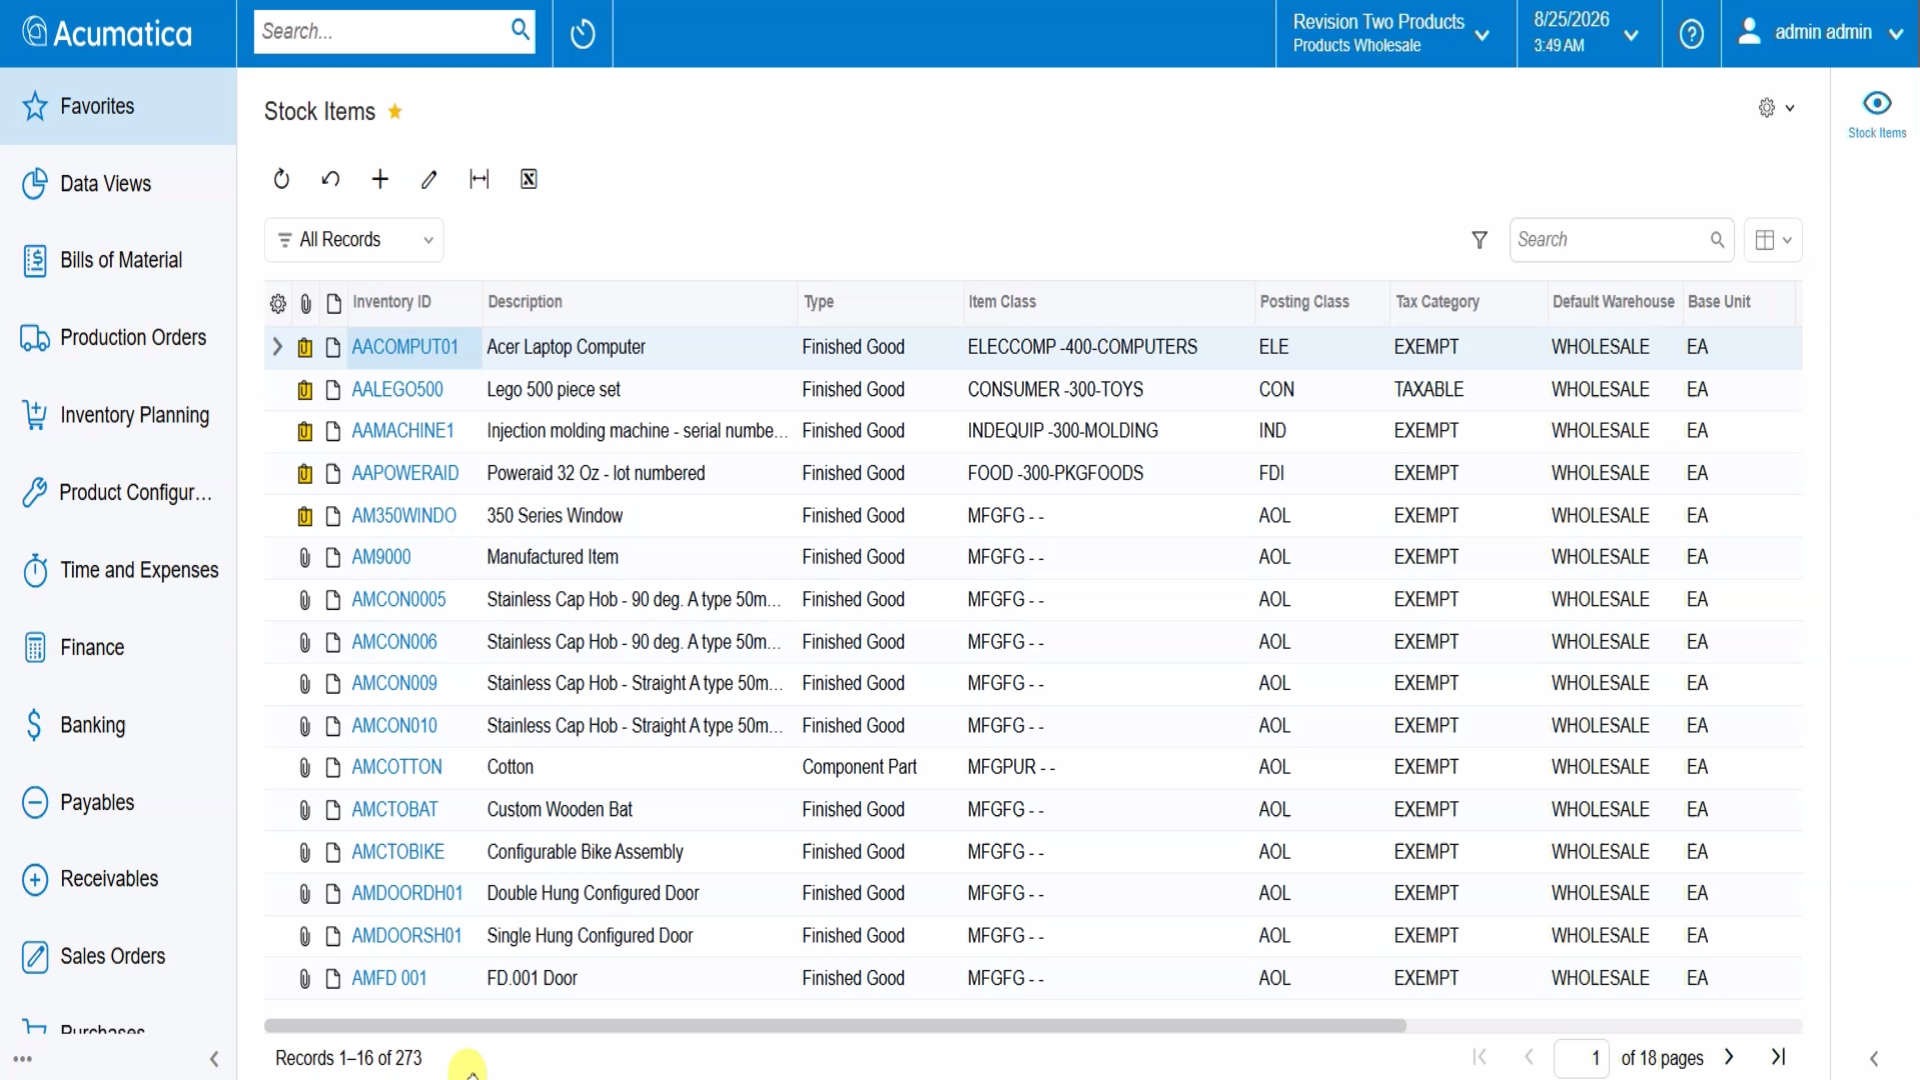
- The warehouses, stock items, payment methods, and shipping settings that will support online orders.
Step 1: Enable the Commerce Features
Open Enable/Disable Features (CS100000) and enable Retail Commerce and the Shopify Connector. These features expose the commerce configuration screens used throughout the rest of the setup.
Step 2: Prepare Acumatica
Get the ERP side ready before synchronizing. Define the customer class and numbering sequence for imported shoppers, confirm which warehouses and inventory will back the store, and configure the payment methods and shipping options that incoming orders should use.
Doing this first removes ambiguity from the initial import. Otherwise, records may arrive without a valid destination, require manual correction, or fail because a prerequisite is missing.
Step 3: Connect the Shopify Store
On the Shopify Stores (BC201010) form, create the store connection. Enter the store name and administrative path, complete the app authorization or credential fields required by your version, and select Test Connection. Do not continue until Acumatica confirms that it can communicate with Shopify.
Step 4: Activate the Entities to Synchronize
On the Entity Settings tab of the same form, mark each entity the business needs as active: customers, stock items, sales orders, payments, shipments, and any other supported records in scope. Acumatica can select prerequisite entities when one entity depends on another.
Then use the Customer Settings tab to choose the customer class, numbering template, and handling rules for registered and guest shoppers imported from Shopify.
Step 5: Map Fields and Set Filters
Open Entities (BC202000) to refine how each active entity behaves. Configure field mappings where your business uses different values or custom fields, and apply import or export filters so only the intended records move between systems.
For example, a product filter can restrict export to items approved for the storefront. Thoughtful filters keep the catalog clean and prevent internal-only inventory from appearing online.
Step 6: Choose Your Synchronization Cadence
Acumatica synchronization uses a prepare-and-process flow: the connector first identifies records that need attention, then processes those records. Depending on the entity and configuration, synchronization can run on a schedule or in real time.
Use the cadence that fits the operation. A higher-volume store may process some entities in scheduled batches for efficiency, while another process may require more immediate updates. The goal is to keep both systems up to date without promising one timing model for every record type.
Step 7: Run the First Synchronization and Verify It
Start synchronization and monitor Sync History (BC301000), which records processed items, their status, and any errors that need attention. Treat the first run as a controlled test rather than a bulk launch.
Verify at least three paths:
- A test product appears in Shopify with the expected details.
- A Shopify test order arrives as an Acumatica sales order with the correct customer, item, quantity, price, shipping, and reference information.
- An inventory change in Acumatica updates the product availability shown in Shopify according to the configured cadence.
Then Run Your Normal Acumatica Workflow
Once the connection is working, the operations team continues in Acumatica. Shopify orders arrive as sales orders, fulfillment and shipment follow the established process, and the configured inventory and status data move back toward the storefront. The connector removes duplicate entry while keeping Acumatica at the center of the operational workflow.
Configure the Connector Around the Business
A default connection is only the starting point. The lasting value comes from deciding which entities move, which system owns each field, how customers and guest orders are handled, which products are eligible for export, and how often each record type is processed.
Envinse configures and extends Shopify and Acumatica integrations around those requirements, including field mappings, filters, cadence, and workflows that go beyond a standard connector setup.
Frequently Asked Questions
Do I need a special Acumatica edition?
The Shopify connector is available with Acumatica's Commerce functionality. Enable Retail Commerce and the Shopify Connector on Enable/Disable Features (CS100000). Your licensed features and Acumatica release determine the exact options available.
What can be synchronized between Shopify and Acumatica?
The connector can synchronize products and inventory, customers, sales orders, payments, and shipping or fulfillment data. The entities and directions you activate determine the final scope.
Is the synchronization real time?
It can run on a schedule or, where appropriate, in real time. The right cadence depends on order volume, entity type, and process requirements, so it is more accurate to describe the systems as kept up to date than to promise one timing model for every implementation.
Which direction does data flow?
Both directions. Products and inventory commonly move from Acumatica to Shopify; orders and customers move from Shopify into Acumatica; and shipment or status information moves back toward the storefront. You control which supported entities and directions are active.
Can I synchronize only some products?
Yes. Import and export filters, together with item-level export controls, can restrict synchronization to the items intended for the Shopify storefront.
Will the connector change how my team processes orders?
No. Shopify orders arrive as standard Acumatica sales orders, so your team can continue its normal fulfillment and shipment workflow.
Can the integration fit our process instead of using a generic setup?
Yes. Envinse can configure the entities, field mappings, filters, customer handling, warehouses, payment and shipping rules, and synchronization cadence around your requirements. Tell us how your Shopify workflow should operate.
Connect Shopify and Acumatica Around Your Workflow
Tell us what you sell, where inventory lives, and how orders should move. We will map the connector configuration and return a fixed-price scope.
Discuss Your Shopify Integration →